Why do this?
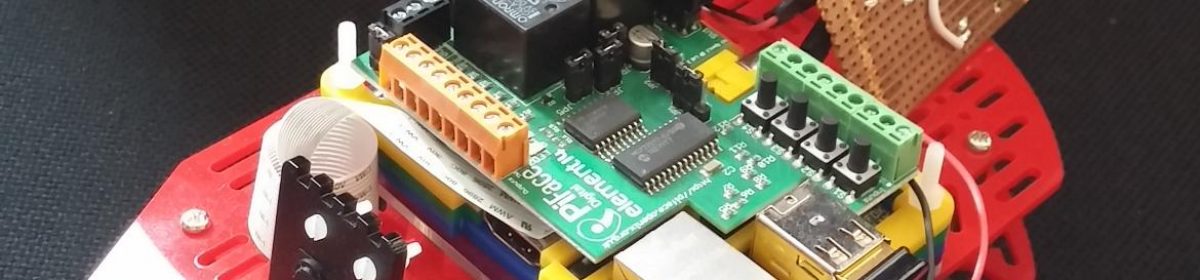
If you’ve been following my MIDI keyboard series, in part 4 you’ll have seen my dangerous looking MIDI connection. While I have a plan to improve on this later, I wanted to have a more robust connection during development. Because I already need a USB connection to the Arduino to upload software updates, I wondered if I could use this to transfer MIDI data as well.
The problem is, if applications on your PC are going to recognise your Arduino as a MIDI device, it needs to look like one. There are specific classes of USB device, and the Arduino doesn’t look like a MIDI device to the PC, it looks like a serial port. There is a more complex solution to this problem. On most modern Arduino variants, it means reflashing the Arduino’s bootloader chip, but then you have to reflash it back to the original every time you want to update your software. Not practical at this stage of development!
If you want to develop your own Arduino MIDI controller, and you want an easy way to connect it to your PC via USB, without adding a separate Midi<->USB interface, then this is for you.
The bald truth
Fortunately, there is a simple, robust solution to our problem. Hairless.
This is software which can receive ordinary serial data from our Arduino, and convert it to make it look like a Midi device on our PC.
On Linux or MacOS, this is all you need. On Windows, we also need another piece of software called loopMidi.
Let’s look at how we configure those.
Setting up loopMidi
Let’s configure loopMidi first. When you first load the software, it looks like this:
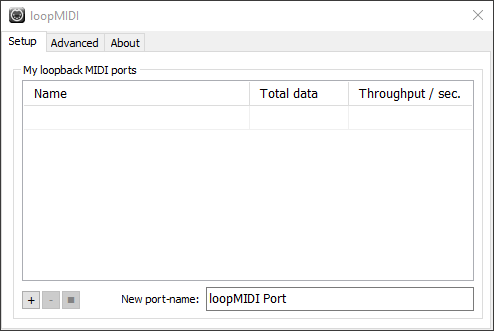
You will see that there isn’t anything under “My loopback MIDI ports” yet, so first we need to create one.
Click the ‘+’ button in the bottom left, ensuring there is a name in “New port-name” first. This will then create a loopback port, and your screen should look like this:
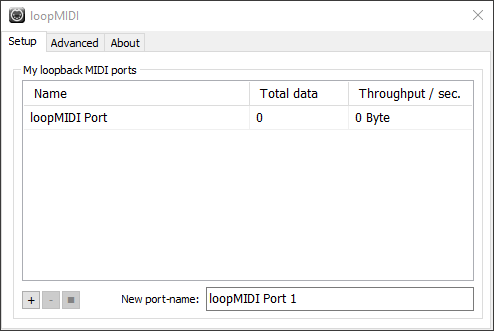
That’s all we need to do with loopMidi
Making the connection with Hairless
So, let’s run Hairless. On first run, it looks like this:
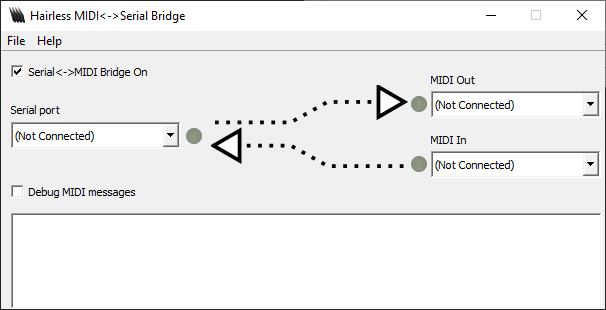
So, on the left we can see that we can select a serial port. On the right, we can connect that serial port to a “MIDI Out” or “MIDI In” device on our PC.
The “MIDI In/Out” descriptions are a little confusing. “MIDI out” means a MIDI output device, i.e. a device which out puts MIDI data, like a keyboard/controller. “MIDI in” means a MIDI input device, i.e. a device which receives MIDI data, like a synthesiser. In our case, we want to connect to the “MIDI out” channel, because we are connecting an output device.
If our Arduino is already connected, it will appear in the dropdown on the left. The loopMidi device we created will appear in the “MIDI out” dropdown on the right. Once correctly configured, it should look something like the image below. Ensure that the “Serial<->MIDI Bridge On” checkbox is ticked.
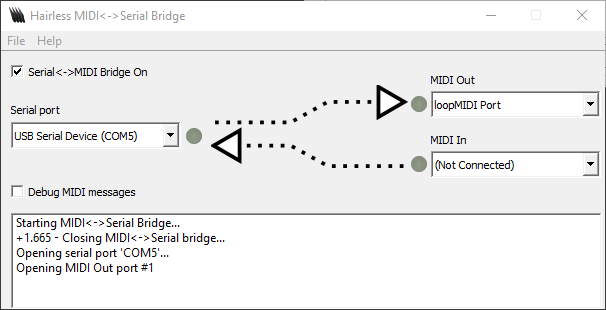
And that’s it! If you now send MIDI data from from your Arduino, those little grey blobs next to the “Serial port” and “MIDI Out” connections will light up green with each item of data sent.
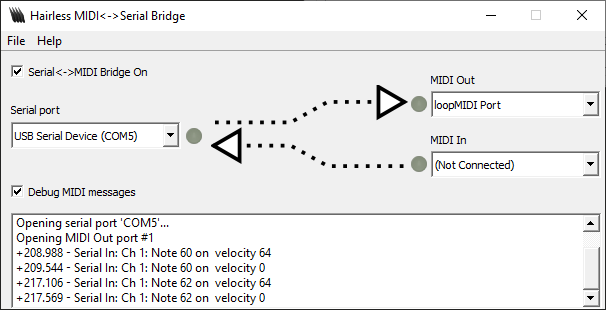
Also, if you tick the “Debug MIDI messages” checkbox, each message will be printed in the log window.
Back to programming mode
Note that while your Arduino is connected to Hairless, it isn’t possible to upload new software to it. All you need to do, however, is untick the “Serial<->MIDI Bridge On” checkbox while you upload your software, and then tick it again once the upload is complete.