Arduino Midi Keyboard part 6 – Velocity, or is it volume?

Welcome to the sixth post in the series, where we’re going to learn how to add a MIDI velocity to our Arduino keyboard, which is what controls the volume of the notes we hear.

If you’ve followed along up to this point, you’ll know that we have a basic working MIDI keyboard. I can hit the keys, and MIDI messages will be sent to my PC, resulting in noise. Particularly in the case of my playing skills!

However, currently our playing lacks nuance. No matter how softly or firmly we press the keys, the note volume is the same. Fortunately, this keyboard, and MIDI in general, has an answer to this problem.

Continue reading “Arduino Midi Keyboard part 6 – Velocity, or is it volume?”

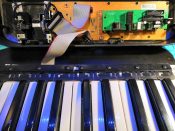
Arduino Midi Keyboard part 5 – the control panel

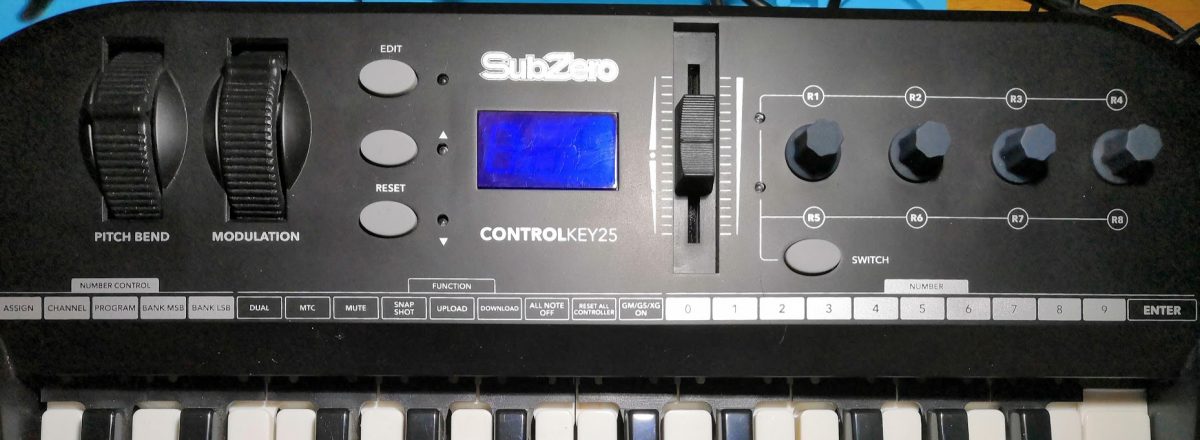
So, we’ve got as far a working keyboard, which can send MIDI messages to an instrument or a PC, including via USB. If we think back to part 1, though, we had that before we started the project! The whole point was that the additional features didn’t work correctly. Let’s make a start on them by connecting up an Arduino control panel adaptor.

Continue reading “Arduino Midi Keyboard part 5 – the control panel”

Arduino USB Midi – the easy way

Why do this?

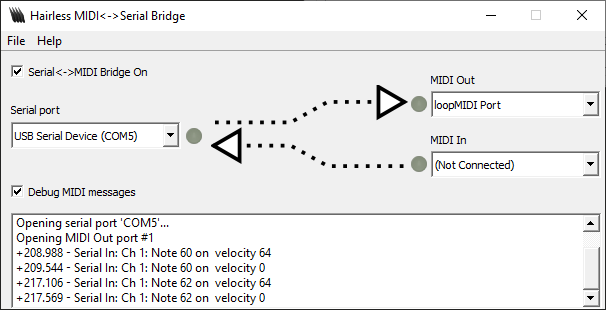
If you’ve been following my MIDI keyboard series, in part 4 you’ll have seen my dangerous looking MIDI connection. While I have a plan to improve on this later, I wanted to have a more robust connection during development. Because I already need a USB connection to the Arduino to upload software updates, I wondered if I could use this to transfer MIDI data as well.

Continue reading “Arduino USB Midi – the easy way”

Arduino Midi Keyboard part 3 – Selecting the microcontroller

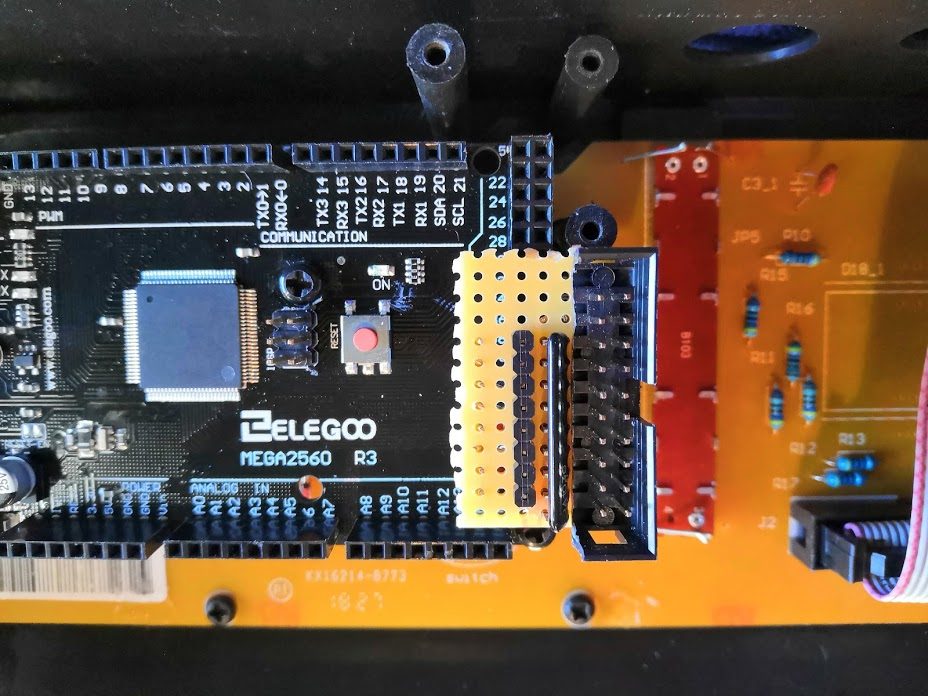
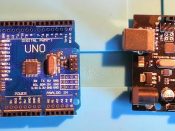
So, in part 1 and part 2, we’ve looked at the problem and how we might solve it.  Now we’re going to choose which Arduino best fits our project and fit it into the keyboard!

I’ve already made my mind up to use one of the Arduino series of boards.

I do like the Arduino family of hardware – it’s open source, it has good library support, built-in serial I/O etc.

The question is, which Arduino do we need? Continue reading “Arduino Midi Keyboard part 3 – Selecting the microcontroller”

So, what is MIDI, and how does it work?

MIDI stands for Musical Instrument Digital Interface.

It is a communication protocol which allows electronic musical instruments to communicate with each other, to synchronise timing, for example.  It also allows the interface which the musician uses to be separated from the instrument, which makes the sound.  This means that a musician can use a single keyboard to play many different electronic instruments.

Artwork made in Blender by @gamedevgiant

Continue reading “So, what is MIDI, and how does it work?”

Arduino Midi Keyboard part 2 – Plan of Attack

So, in part 1 we described the problem.  Now, let’s take a look inside and start to plan a solution.

What’s inside?

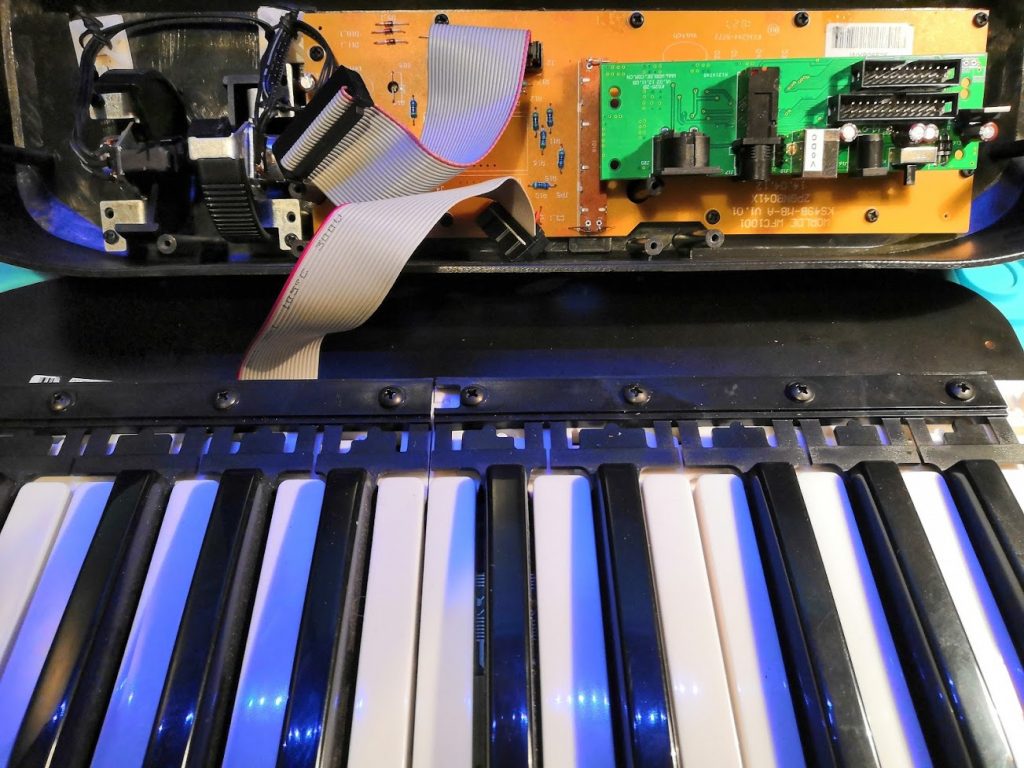
As you can see from the picture below, the whole system consists of three circuit boards.  If you can only count two, you’re not concentrating!  There’s one peeping at you through the gap between two of the keys (C and C#, for those of you that are of a musical bent).

IMG_20200416_075732

Continue reading “Arduino Midi Keyboard part 2 – Plan of Attack”

Arduino-Hacking a Cheap Midi Controller Keyboard, part 1

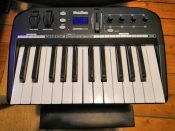
A little over a year ago I bought a cheap (£40) 25-key midi keyboard.  This post describes a problem with the keyboard, and my failed attempts to fix it.  Then we hatch a plan to solve it by hacking in an Arduino. Continue reading “Arduino-Hacking a Cheap Midi Controller Keyboard, part 1”